
Format Reports
You can format reports to determine what elements a report includes at the time it is initially created from running a background check as well as if you refresh a report from the subject page, subject's fly-out menu. Customizing report formats allows you to focus on specific aspects of the report that are most relevant to your needs.
For example, including profile images for your subject can provide visual context, while including post hyperlinks allows you to directly access the flagged content for further investigation. The decision to include or exclude certain aspects of your report may be dictated by your use/case. For example, in order to say compliant with FCRA and other related laws and regulations, you may decide to exclude certain analytics such as the score.
This article will go over how to customize the way your reports look and the information they contain.

Step 1: Open Report Settings
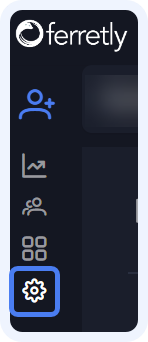
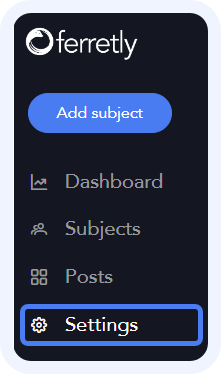
To format your reports, click Settings in the left navigation. The button may appear as a gear icon depending on your screen size.

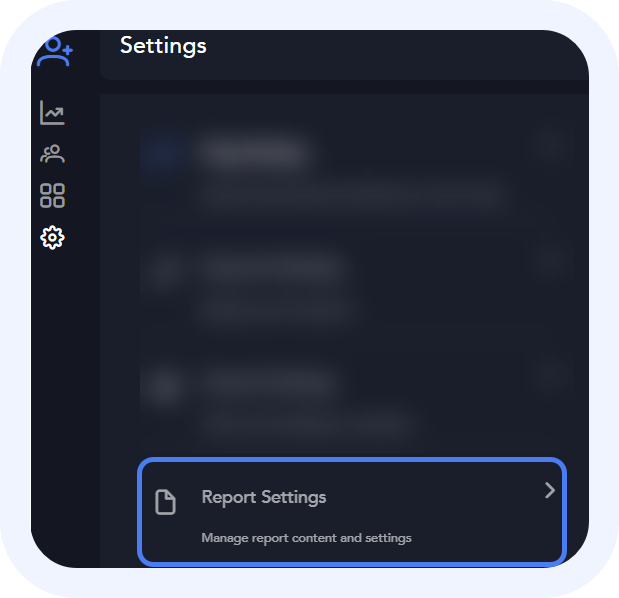
The Settings page will open. Click Report Settings in the left panel.

Step 2: Select Report Profile
Use the dropdown in the top right corner to select which report profile you are creating report settings for. Each profile can have its own unique report settings.
Your settings are automatically saved to the report profile as soon as you change them, so be sure to select the correct report profile or create a new report profile in the beginning.

Step 3: Select General Report Settings
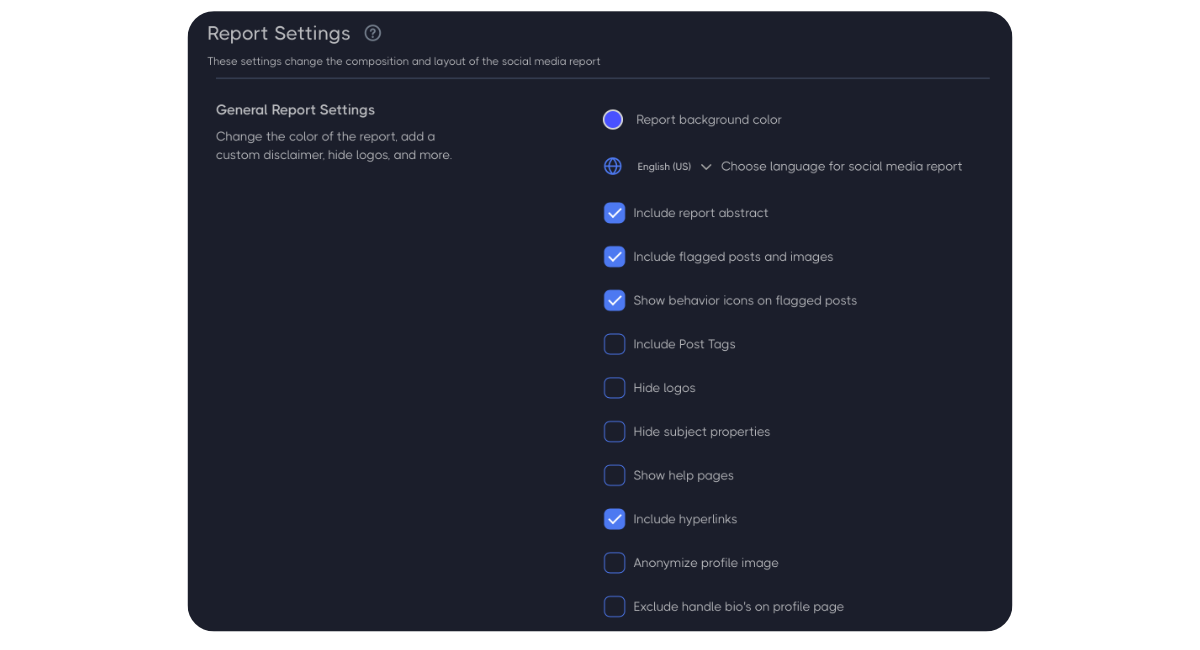
The Report Settings page will open on the right.
Use the dropdown box and then the checkboxes to customize your report. The General Report Settings affect most of the report formatting and setup.
Here’s a quick breakdown of your options:
Report background color - Use this dropdown to change the default background color used in background reports and any PDF report generated from the posts and subject pages.
Choose language - Use this dropdown to specify the language used for the social media report. You have a choice of up to 8 languages. See details here.
Include report abstract -- Check this box to show a summary page of the subject's social media after the cover page on the social media report.
Include flagged posts and images - Check this box to show a chronological list of flagged posts in the background report.
Show behavior icons on flagged posts -- Shows an icon for each behavior type on the flagged posts portion of the reports.
Include Post Tags -- If posts were tagged with one or more tags, then these will show on the report within the post card for flagged posts.See how to tag a post here.
Hide logos - Check this box to hide the Ferretly (or white-labeled) logo on all pages of the report.
Hide subject properties -- Check this box to hide the subject properties on the profile page of the background report.
Show help pages - When checked, Ferretly will include a page in the report for how to read flagged posts.
Include hyperlinks - Check this box to make social media profiles and individual posts clickable links to the original post URL.
Anonymize profile image - When checked, an anonymized version of the subject's profile picture will be included on the report. In addition, this will remove any social media profiles referenced by your subjects in flagged posts such as when liking or sharing another persons post.
Exclude handle bio's on cover page - When checked, the subject’s social media profile bio will be removed from under the handle on the report cover page.
Include custom disclaimer addendum - Check this box to add a custom disclaimer on your background report. This will replace the default disclaimer text associated with the FCRA and Accuracy page.
Redact nude images in reports - all nude image flagged posts will have the image redacted on the reports.
Sort/group posts by - Allows you to choose how posts are displayed on the reports.
Chronologically - sorts all posts based on most recent to oldest independent of the platform or behavior
Platform - will group all posts based on platform, then sort from most recent to oldest posts.
Behavior - will group all posts based on behavior alphabetically, then sort within group from most recent to oldest posts.

Step 4: Select Post Insights
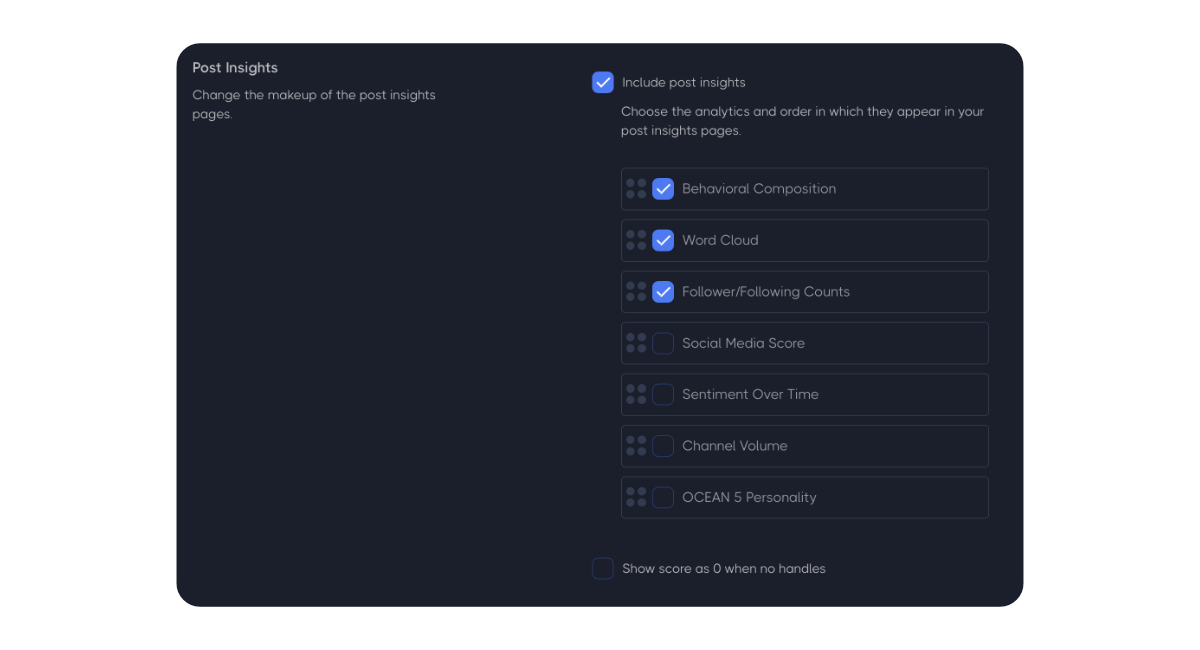
Scroll to the Post Insights section to customize the Post Insights pages of your reports. Use the checkboxes to adjust the settings.
Here’s a breakdown of the options:
Include post insights - Check this box if you want to include the post insight section on the background report. You can then customize the order and further selections of the type of insights you wish to include. You can choose from the following:
Social Media Score
This will show a graph with a score ranging from 0 to 1000 which provides an indication of the frequency of flagged posts and overall sentiment.
Behavioral Composition
This graph will indicate how many posts were flagged for each of the behavioral attributes.
Follower/Following Counts
This option shows how many total followers/following and post counts across all profiles for your subject.
Word Cloud
This graph shows the highest frequency words your subject discusses (based on relative size) and sentiment around those words (color from red to green indicating how negative or positive your subject speaks about those topics)
Sentiment Over Time
This graph shows average sentiment trends over the post history.
Channel Volume
This graph indicates how many posts were analyzed per social media platform.
OCEAN Personality
OCEAN (Big Five) model to provide an estimated profile of a subject's personality traits based on their social media posts.
Show score as 0 when no handles - Check this box to show a score of 0 when the subject has no social media handles, rather than the default value of 1000.

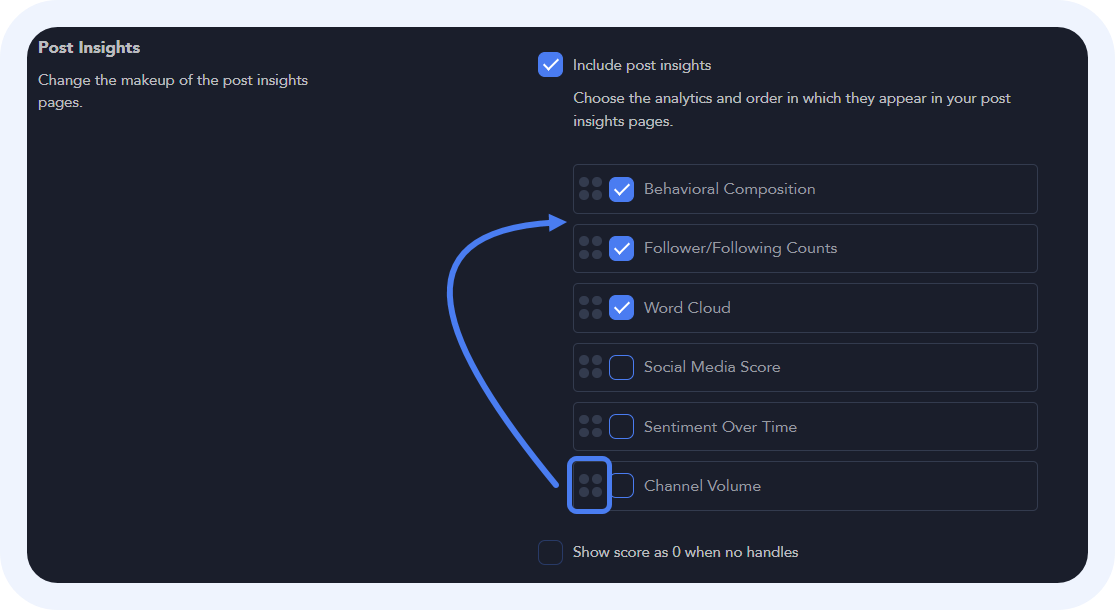
To rearrange the order of the analytics, click the grid to the left of the options and drag and drop the items into the correct order.

